Step-by-Step Guide: How to Record Your Windows Screen Without Any Software
Step-by-Step Guide: How to Record Your Windows Screen Without Any Software
Screen recording can be incredibly useful in various situations, whether you’re creating a tutorial, capturing gameplay, or simply sharing your screen with someone. While there are many software options available for screen recording, you may not always want to install additional programs on your computer. record screen on Windows without software The good news is that Windows provides built-in tools that allow you to record your screen without the need for any third-party software. In this step-by-step guide, we’ll show you how to record your Windows screen effortlessly.
Step 1: Prepare Your Screen
Before you start recording, it’s essential to set up the content you want to capture on your screen. Close any unnecessary applications and ensure your screen displays exactly what you want to record.
Step 2: Access the Xbox Game Bar
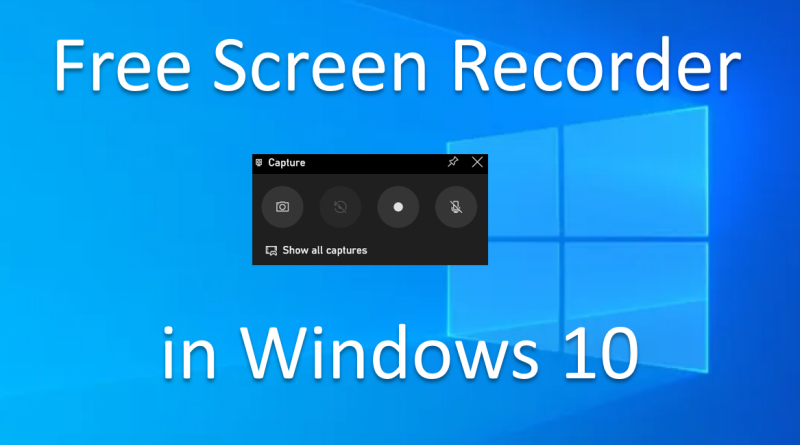
The Xbox Game Bar is a built-in Windows tool that allows you to record your screen. To access it, press the Windows key + G on your keyboard. A small overlay window will appear on your screen with various options.
Step 3: Start Recording
In the Xbox Game Bar overlay, you’ll find a red circle icon labeled “Record.” Click this button to start recording your screen. Alternatively, you can use the shortcut Windows key + Alt + R to begin recording.
Step 4: Customize Recording Settings
If you click the settings (gear) icon within the Xbox Game Bar overlay, you can customize your recording settings. You can choose options like recording audio from your microphone or system, adjusting video quality, and specifying the save location for your recordings.
Step 5: Stop Recording
When you’re ready to stop recording, return to the Xbox Game Bar overlay and click the red square icon labeled “Stop.” You can also use the Windows key + Alt + R shortcut to stop recording. Your screen recording will be automatically saved to your chosen location.
Step 6: Review Your Recording
To check your recorded video, navigate to the folder you specified in the settings. You can then play, edit, or share your screen recording as needed.
Step 7: Trim Your Recording (Optional)
If your screen recording captured more content than you intended, you can use the built-in Photos app on Windows to trim the video. Simply open the video in the Photos app, click “Edit & Create,” and select “Trim.” This allows you to cut out any unwanted portions of the recording.
Step 8: Share Your Recording
Once you’ve reviewed and edited your screen recording, you can easily share it with others. You can upload the video to platforms like YouTube, send it via email, or share it through cloud storage services.
Conclusion
Recording your Windows screen without any additional software is a straightforward process with the built-in Xbox Game Bar and the Photos app for basic editing. Whether you’re a content creator, a teacher, or a business professional, this method allows you to quickly and easily capture your screen to share knowledge, document processes, or simply create engaging content. So, the next time you need to record your screen on Windows, remember these simple steps and enjoy the convenience of built-in tools.