Choosing the Right Location for Your Camera
Selecting the best position for your Local storage security camera is the foundation of an effective surveillance setup. The device should cover the most important entry points such as the front door, back door, and ground-level windows. Positioning the camera at a height of 8 to 10 feet helps you capture clear footage while keeping the camera out of easy reach for potential intruders. Another essential factor is the viewing angle. Choose a location where the camera can monitor a wide area without major blind spots. Avoid placing the camera in direct sunlight, as this may cause glare or overexposure during the daytime. Instead, aim for shaded areas or positions where lighting conditions remain relatively stable throughout the day. Indoor placement should also consider factors like foot traffic, valuable assets, and potential hiding spots. Ensure the camera has a clean, unobstructed view to allow maximum efficiency.
Ensuring Strong Wi-Fi and Device Connectivity
Even though a Local storage security camera stores footage on a memory card or physical drive, it often relies on Wi-Fi for live viewing and remote access. Poor connectivity can cause delays, buffering, or disconnections. Before installation, run a speed test in the intended location to verify that the Wi-Fi signal is strong enough. If the signal is weak, consider installing a Wi-Fi extender or repositioning your router to improve coverage. Ensure the camera is compatible with your network type, typically 2.4 GHz for longer range. Some cameras may support wired Ethernet connections, which offer more stability and are ideal for areas where wireless interference is common. Avoid installing cameras near appliances or devices that emit electromagnetic interference, such as microwaves or cordless phones.
Optimizing Camera Angle and Field of View
Adjusting the angle of your Local storage security camera is crucial for capturing the most useful footage. Always angle the camera slightly downward to reduce sky exposure and focus on relevant human activity. Overexposure from bright skies or lights can make important details harder to identify. If your camera features a wide-angle lens, ensure objects do not distort near the edges. Additionally, avoid pointing the camera directly at mirrors, glass surfaces, or bright lights, as these reflections can compromise image clarity. For outdoor installations, use the camera’s mounting bracket to fine-tune the vertical and horizontal angle until you achieve the best coverage. Many modern cameras include on-screen guidelines to simplify angle adjustments within the mobile app, helping users optimize the field of view with precision.
Using Proper Mounting Hardware for Stability
Stability is essential to ensure your Local storage security camera performs reliably. Use the manufacturer-recommended screws, anchors, and brackets to secure the device firmly. If mounting on concrete or brick, use heavy-duty masonry anchors to prevent the camera from loosening over time. For wooden surfaces, wood screws usually provide a tight grip. When installing outdoor cameras, make sure the mount can withstand environmental factors such as wind or vibrations. A shaky mount can result in blurry footage, especially during motion-triggered recordings. Always double-check that the mount is level to ensure the camera captures aligned, professional-looking footage.
Protecting Your Camera From Weather Damage
Weather resistance is a vital factor for outdoor installations. Check the IP rating of your Local storage security camera before mounting. A rating of IP65, IP66, or higher ensures adequate protection against dust and rain. Even with a weather-resistant design, avoid installing the camera in direct exposure to heavy rainfall or harsh sunlight. Mounting under eaves or awnings can extend the lifespan of the device. Cold climates may cause condensation or frost buildup on the lens, while hot climates can overheat the internal components. Some cameras include built-in heaters or cooling systems, but if yours does not, consider small weatherproof housings for additional protection. Regularly wipe the lens using a microfiber cloth to prevent dirt or moisture from reducing video quality.
Ensuring Adequate Power Supply
A stable power connection is key for uninterrupted performance of any Local storage security camera. If using a wired power adapter, ensure the cable length is sufficient without causing strain. Route cables neatly and securely along walls or ceilings to avoid accidental disconnection or damage. For battery-powered models, use high-quality rechargeable batteries and monitor battery health regularly. Some cameras support solar panels to keep batteries charged continuously, which is ideal for remote or outdoor installations. Power outages can interrupt recording, so if your camera offers local backup features, ensure storage devices are updated and functioning properly.
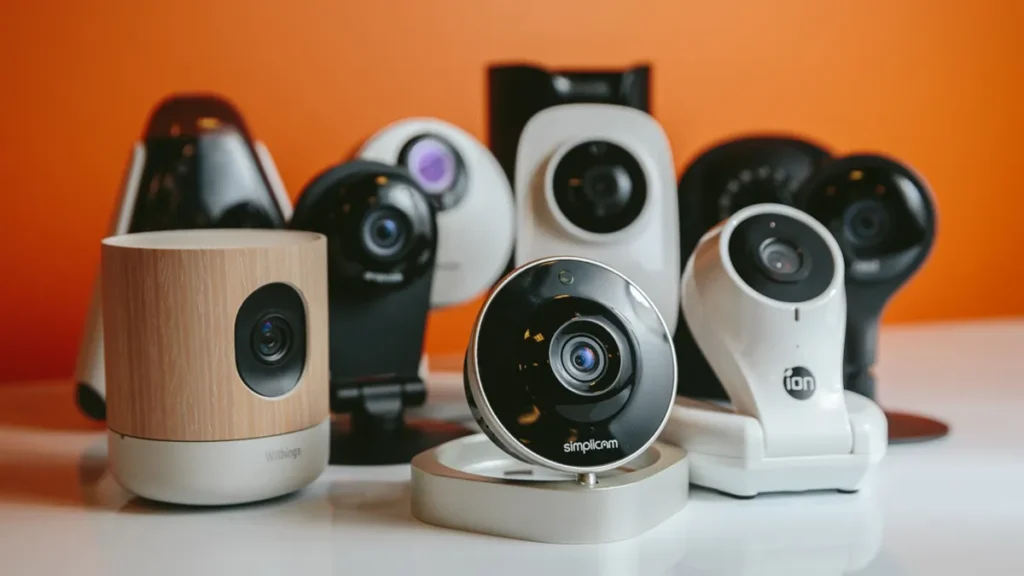
Configuring Storage for Maximum Recording Efficiency
One of the biggest advantages of a Local storage security camera is its ability to store footage without relying on cloud subscriptions. To maximize efficiency, use high-quality SD cards or external drives with sufficient storage capacity. A minimum of 64GB is recommended for regular home surveillance, while businesses may require 128GB or more depending on activity levels. Format the SD card according to the manufacturer’s recommendations before installation. Enable features like loop recording to ensure continuous coverage by automatically overwriting old footage when the card is full. If your camera supports motion-based recording, adjust sensitivity levels to prevent unnecessary clips that quickly fill storage.
Adjusting Motion Detection Settings
Motion detection is often one of the most important features of a Local storage security camera. Proper configuration reduces false alarms and improves overall surveillance efficiency. Start by adjusting the detection sensitivity. High sensitivity may cause triggers from insects, shadows, or passing cars, while low sensitivity may miss important activity. Define custom activity zones if your camera supports them. This allows you to focus on specific areas, such as the doorway, while ignoring irrelevant regions like streets or trees. Enable push notifications only for essential alerts to avoid becoming overwhelmed with unnecessary updates.
Maintaining Your Camera for Long-Term Performance
Regular maintenance ensures your Local storage security camera remains effective over the years. Inspect the device monthly for dust, moisture, or damage. Clean the lens gently to remove smudges or debris that may affect clarity. Check the mounting bracket to confirm it remains tight and stable. Update the camera’s firmware regularly to benefit from improved security features, bug fixes, and performance enhancements. If your device uses local storage, periodically review and organize recordings to maintain sufficient space.
Final Thoughts on Maximizing Camera Effectiveness
Installing a Local storage security camera correctly can significantly enhance your security system’s performance. Choosing the right location, optimizing angles, ensuring a stable power supply, and properly configuring motion detection all contribute to reliable and high-quality surveillance. With proper setup and ongoing maintenance, your camera system will continue to provide strong, dependable protection for both home and business environments.


More Stories
How Using Thermal Imaging for Electrical Systems Boosts Safety and Efficiency
A Step-by-Step Guide to Using WPS Effectively
Boost Team Performance with WPS Tools